Singapore · Wheat
Soft Kaya-filled Bun
Kaya-filled Bun
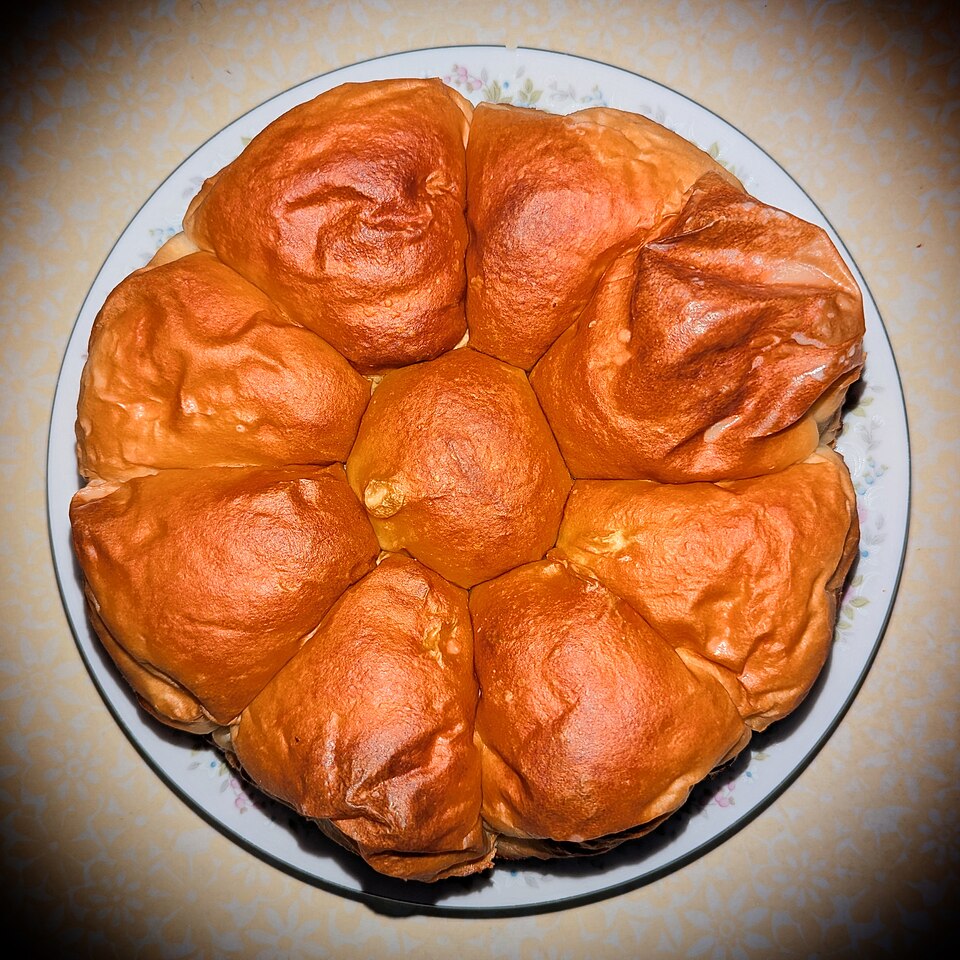
A sealed, soft yeast bun carrying kaya's coconut-and-egg flavour.
What makes this bread distinctive?
Kaya is not limited to breakfast toast: it is also paired with different doughs in Singapore bakery products. This recipe makes a filled yeast bun rather than a toasted slice. Ready-made kaya varies in thickness, so choose a spread that holds its shape instead of a runny product.
- Flour profile
- Wheat
- Core technique
- Enriched yeast dough + filling
HOME-OVEN FORMULA
From worktop to oven,
step by step.
Flour absorption, starter strength and room temperature all affect the result. On your first bake, watch the dough rather than the clock alone.
Method
- 01
Mix flour, milk, egg, yeast and sugar. Add salt and knead for 5 minutes. Work in the butter gradually and knead for another 8 minutes until elastic.
- 02
Cover and rise for approximately 60-90 minutes until clearly increased in volume. Prepare the filling meanwhile; never fill dough with a hot mixture.
- 03
Keep the kaya refrigerated according to its label. Avoid a runny product and prepare 8 equal portions while the dough rises.
- 04
Divide dough into 8 pieces and flatten each into a round. Add 20 g kaya to each, pinch the edges shut and place seam-side down on the tray.
- 05
Cover and proof for 35-50 minutes until the buns look puffy. Preheat a conventional oven to 180°C and brush the tops with 10 g milk.
- 06
Bake on the middle shelf for 20-24 minutes until golden. Rest filled buns on a rack for 20 minutes and cool completely before storing.
BAKER'S NOTES
Small details,
better results.
- Overfilling can cause leakage and a burnt base.
- Jam instead of kaya changes the coconut-and-egg character of the recipe.
- Contains milk, eggs, wheat and gluten; kaya labels may declare other allergens.
AT THE TABLE
How to serve it
- Kopi-style coffee
- Small tea-time sandwiches
- Fresh fruit on the side