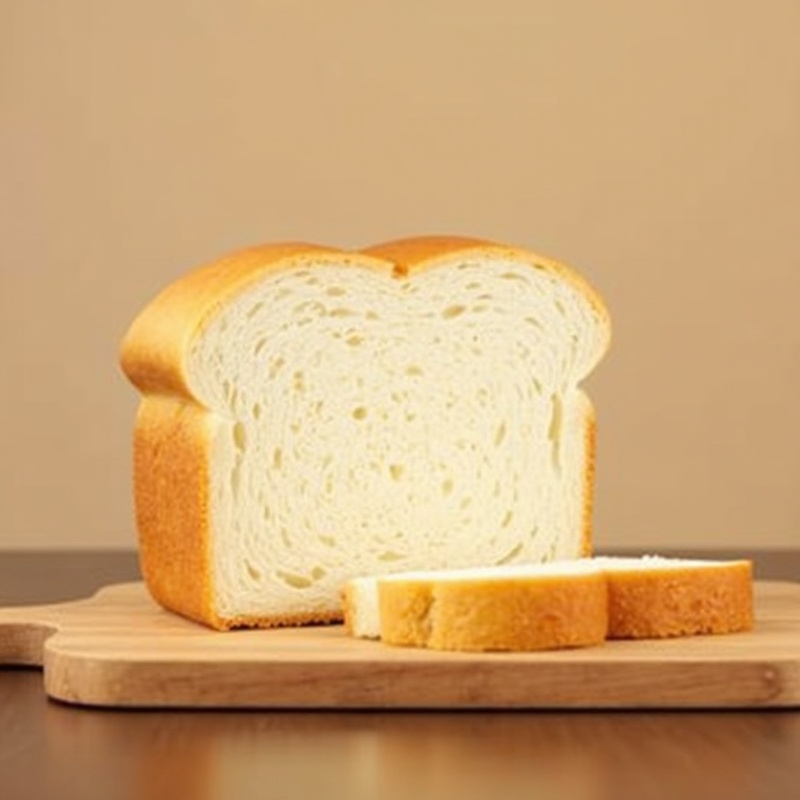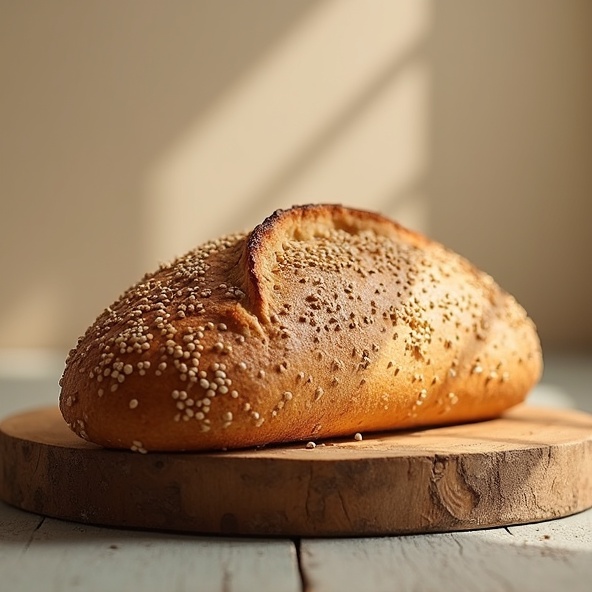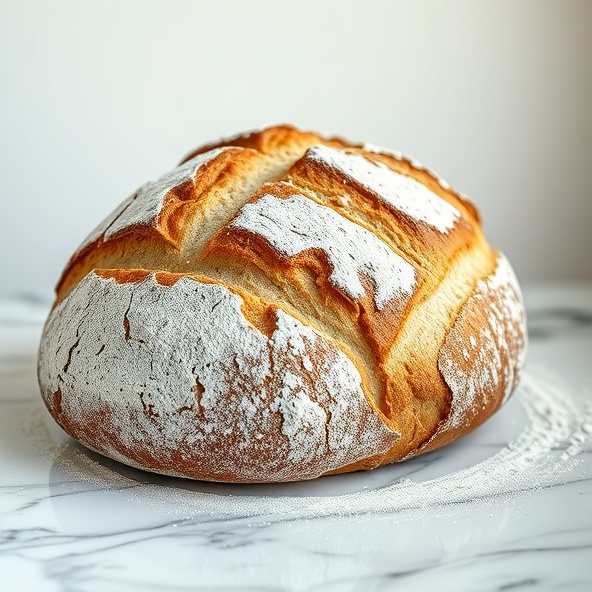
When starting to bake at home, learning one plain dough is more useful than trying many techniques at once. This recipe makes one medium loaf. Allow approximately 25 minutes of active work, a total of 1.5-2.5 hours for rising, 35-40 minutes for baking and at least one hour for cooling. Rising may take longer in a cool room: watch the dough as well as the clock.
Ingredients
- 500 g wheat bread flour
- 320 ml water, plus up to 20 ml more if the flour needs it
- 5 g instant dried yeast
- 9 g salt
- A little flour for shaping
Method
- Mix the flour and instant yeast. Add 320 ml water and the salt and combine until no dry flour remains, using the reserved water gradually if needed.
- Rest for 10 minutes, then knead for approximately 8-10 minutes. Cover.
- Leave for approximately 60-90 minutes until clearly increased in volume; allow longer in a cool room.
- Gently shape into a loaf on a lightly floured surface. Transfer to a tray, cover and let rise again for approximately 35-60 minutes.
- Preheat a conventional oven to 220 °C. Make a shallow score in the loaf and bake for 15 minutes. Reduce to 200 °C and bake for approximately another 20-25 minutes.
- Check its colour and that the inside is baked; cool on a wire rack for at least one hour. If the crumb is doughy, review baking and cooling times for your next attempt.
Prepare your workspace
A kitchen scale, large bowl, clean cover, dough scraper, tray and cooling rack are enough. Packing flour into a cup gives inconsistent quantities. Use room-temperature water; very hot water can harm the yeast. This beginner recipe does not require pouring water into a hot oven for steam or moving a heavy, hot pot.
Learn the dough's consistency
Start with 320 ml water. If dry flour remains after mixing, add the reserved water a dessertspoon at a time. The dough can be soft and slightly sticky: do not aim for a hard ball that never sticks. Give it a short rest rather than drying it with more flour. Kneading then makes the surface smoother. Flour protein and storage conditions affect water requirements.
Why two rises?
The first rise builds volume. Shaping evens out large air pockets; the second rise lets the loaf become light again. Mark the starting level on the bowl. Look for a clear increase in volume during the first rise and a puffy, slightly springy appearance during the second. A cold kitchen takes longer; do not try to accelerate the process on a hot radiator.
Baking and cooling
Preheat the oven. A shallow score with a sharp knife helps control expansion. Lower the heat if the top colours too quickly; ovens do not all behave the same way. Cool the loaf on a rack. Slicing while hot can compress the crumb and leave a damp cut surface that sticks to the knife.
Troubleshooting a first attempt
Spreading may mean too much water, loose shaping or an overly long final proof. A tight, heavy loaf may result from too much flour, insufficient rising or weak yeast. Change one variable at a time and record water, room temperature and waiting times rather than changing everything together.
Serving and kitchen safety
Serve plain slices with cheese and vegetables on the first day; use them for toast or croutons the next. Cool completely before portioning extras. Do not taste raw flour or dough. These are beginner home-baking quantities that may need adjustment for your flour and oven, not a test-kitchen guarantee. The recipe contains wheat and gluten.